Bead and Bright-Cut Setting Explained
Bead and bright-cut setting step by step: layout, drilling and seating, raising beads with a graver, beading tools, bright-cutting and graver sharpening.
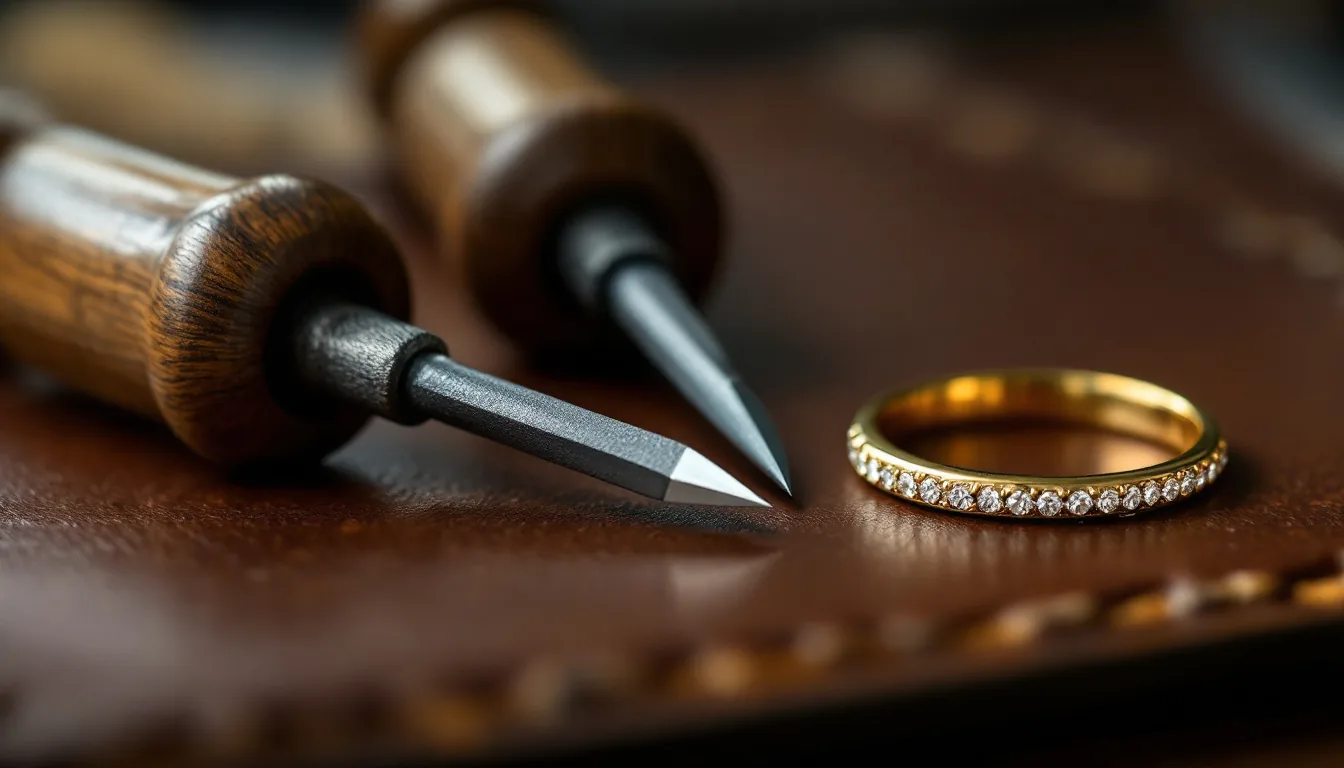
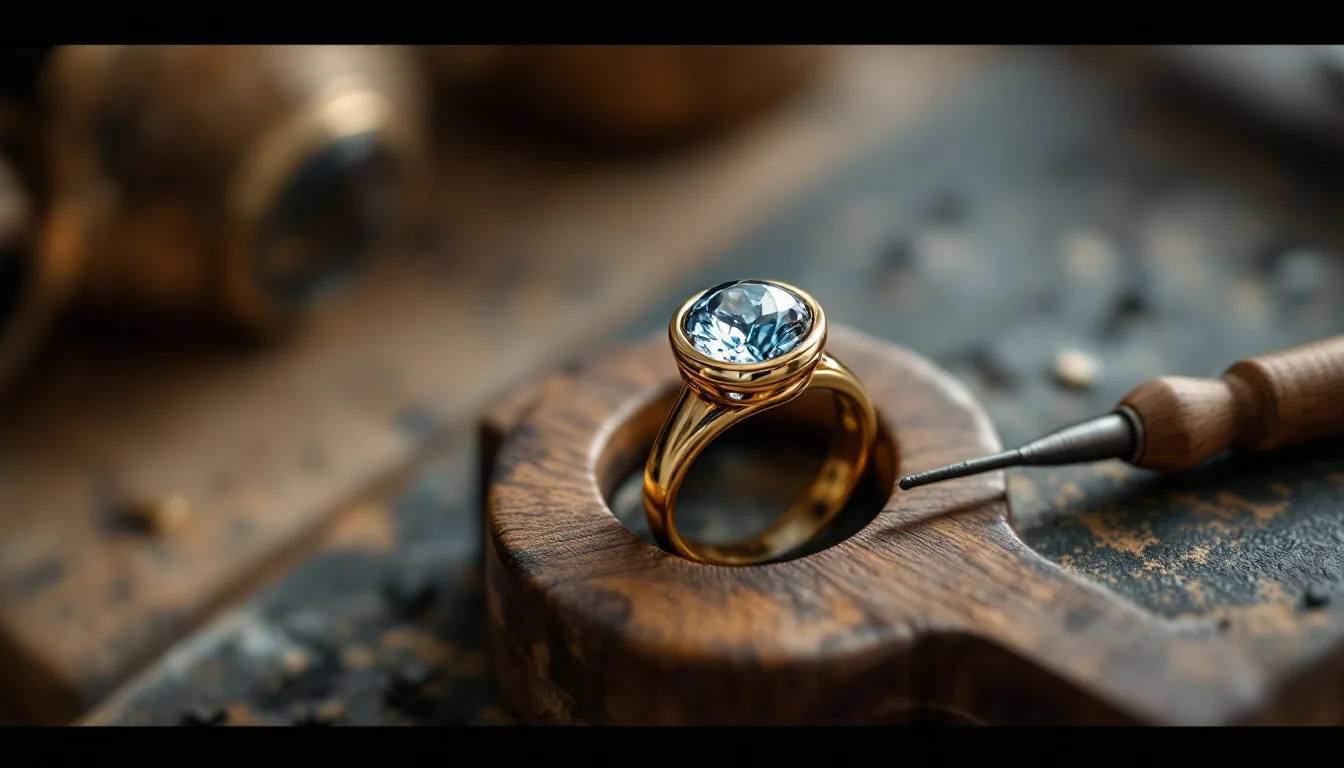
Bead and bright-cut setting holds a stone with small beads of metal raised from the surrounding surface with a graver, then frames it with mirror-bright bevels cut into the metal. The stone sits in a drilled seat with its table just above the surface, and the beads, usually four for a single round stone, are pushed over the girdle and rounded with a beading tool. It is the foundation of pavé work, and its quality depends on sharp, polished gravers more than on any other factor.
Terms
- Bead: a small mound of metal raised by a graver and pushed against the stone’s girdle, then rounded.
- Bright cut: a narrow bevel cut with a polished graver, which leaves a mirror surface that reflects light toward the stone.
- Line cut (frame): the cut that outlines the setting and separates beads from the background metal.
- Beading tool: a steel punch with a concave tip that rounds a raised bead into a hemisphere. Beading tools come in numbered sizes.
- Bead raiser: a graver modified for pushing up beads.
Tools
| Tool | Common numbers | Job in this setting |
|---|---|---|
| Flat graver | #39, #40, #41 | Bright cutting the frame; shared beads between stones |
| Onglette graver | #0, #1, #2 | Line cuts, separating and trimming beads; base for a bead raiser |
| Square graver | #6 | Raising corner beads in Alan Revere’s method |
| Round graver | #53 | Removing metal between seats; rolling beads |
| Beading tools | Matched to bead size | Rounding and polishing beads |
| Burs | Round, setting and bud burs | Opening holes and cutting seats |
| Dividers, loupe or microscope | Layout and inspection |
Gerald Lewy, writing in Bench magazine, builds his kit around #1 and #2 onglettes and #39 and #40 flats. He makes a bead raiser from a #2 onglette by rounding off its thin underside edge, so the point does not snap when it is levered against metal.
Preparing and sharpening gravers
A graver cuts with its face, the angled end, and rides on its heel, a short bevel underneath that stops it digging in.
| Setting | Typical figure | Source |
|---|---|---|
| Face angle, general range | 40–55° | GRS |
| Face angle for karat gold | Up to 60° | Tom Weishaar, Bench |
| Face angle for platinum | About 50° | Tom Weishaar, Bench |
| Heel angle | 15–20° | GRS |
| Heel length | 1.5–2 mm for fine work; 3–5 mm for long straight cuts | GRS |
Weishaar grinds his flat gravers at 55° with a 15° heel. Three habits matter more than the exact angle:
- Fit the graver to your hand. Weishaar notes that setters with small hands often snap off the first half inch of a new graver so it fits the palm.
- Polish the face and heel to a mirror. The cut can only be as bright as the tool. Weishaar uses diamond spray on a ceramic lap; some setters use 4/0 paper glued to a flat acrylic block. Lewy works through progressively finer emery papers and finishes on 4/0 paper rubbed with graphite.
- Test before every session. Weishaar’s test: a sharp graver bites into a thumbnail, while a dull one skips across it.
Step by step: a single stone in a bright-cut box
This sequence follows Revere’s “bright cut box” exercise in JCK, using a 4 mm round cubic zirconia in 1.5 mm copper. Revere notes that copper responds much like gold and platinum, which makes it a good practice metal.
1. Lay out
Mark the center of the stone position. Set dividers to 5 mm and scribe a square around the center: this becomes the bright-cut frame. Accurate layout matters, because every later cut follows these lines.
2. Drill and seat
Drill in steps, 1 mm, then 2 mm, then 3 mm. Open the hole with a 4 mm round bur, then cut the seat and a short vertical wall with a 4 mm setting bur. Revere’s test: the stone should drop in with light contact all the way around and its table barely above the metal. Lewy uses the stone’s own crown height, table to girdle, as his rule of depth, and checks under a 10× loupe that the stone is level.
3. Raise the beads
Set the square graver in one corner of the box, angled toward the stone at about 45 degrees, and push straight ahead so it gathers a curl of metal as it slides forward. Stop when the metal bulges against the girdle. Repeat at the opposite corner, then the remaining two, so the stone does not rock or shift. Return to each bead at a steeper angle, about 60 degrees, to tighten it over the girdle.
Lewy uses a similar order with his bead raiser: the first bead goes up against the girdle, the opposite one fully over it, and then he returns to finish the first.
4. Cut the lines
With an onglette, cut along the frame lines and around the backs of the beads, removing the background metal and isolating each bead. Lewy treats these line cuts as guides for the bright cut that follows, so they need to be clean and continuous.
5. Round the beads
Choose a beading tool whose cup matches the base of the bead; Revere uses sizes 12 to 14 for this box. Polish the cup first. Press down gently and rotate, increasing pressure and the size of the circle until the bead is a smooth hemisphere sitting tight on the girdle.
6. Bright-cut the frame
Revere places a #41 flat graver at a corner of the box, lifts the handle slightly and tilts the far side about 30 degrees, then cuts toward the first bead and flicks out the chip. Work around all four sides, then go back and refine each section into one continuous reflective plane. In his shared-bead pavé lesson he sums up the stroke as cutting on the push and burnishing on the pull.
Lewy prefers a right-sided onglette for this stage, because its slightly concave wall reflects more light than the flat wall left by a flat graver, and because the corners of a flat graver keep touching the stones and need frequent resharpening.
7. Refresh and inspect
Bright cutting often disturbs the beads, so go back with the beading tool at the end. Under magnification, check that:
- The stone is level, centered and does not move
- Each bead is round, uniform and in contact with the girdle
- The frame walls are bright, flat and meet in crisp corners
- There are no graver slips on the stone or chatter marks in the cuts
From one stone to a line
The same moves scale up to rows and pavé. In Revere’s shared-bead exercise, 3 mm stones are laid out 3.2 mm apart, drilled to about 75% of their diameter and seated so the tables barely show above the surface. A flat graver raises one bead between each pair of stones, so every bead holds two stones. Lewy’s advice for a line is to raise the first beads on every stone before finishing any of them, which keeps the angles and the row consistent. For closely packed stones and the French style, see French Pavé Setting: Technique and Variations.
Practice tips
- Practice on copper plate with cubic zirconia before moving to gold, platinum or diamonds.
- Use fresh burs. Lewy warns that worn teeth compromise the seat.
- Keep the work rigidly held and well lit, and inspect after every step, not only at the end.
- Expect a long learning curve. Lewy wrote that bright cutting took him four to five years to learn.
- Keep the hand that holds the work behind the graver’s path. A slipping graver can cause a deep puncture wound.
Questions
How is bead setting different from pavé?
Pavé is bead setting applied to a field of stones. GIA describes pavé as stones set in three or more rows with hand-raised beads holding them.
Why is my bright cut dull or rippled?
Usually the graver. A face that is not mirror-polished leaves a dull cut, and a dull edge or a missing heel causes chatter. Repolish, check the heel and take lighter cuts.
Further reading
- JCK: Practical Stone Setting: Bright Cut Box (Alan Revere)
- JCK: Practical Stone Setting Part 26: Shared Bead Pavé Setting (Alan Revere)
- Ganoksin: Bead Setting Method, Part 1 (Gerald Lewy, Bench Magazine)
- Ganoksin: Bead Setting Method, Part 2 (Gerald Lewy, Bench Magazine)
- Ganoksin: Creating and Sharpening Gravers (Tom Weishaar, Bench Magazine)
- GRS: Graver Geometry: The Science of Cutting