Anticlastic Raising: The Basics
What anticlastic raising is, how it differs from synclastic forming, the stakes and hammers it uses, the step sequence and who developed it.
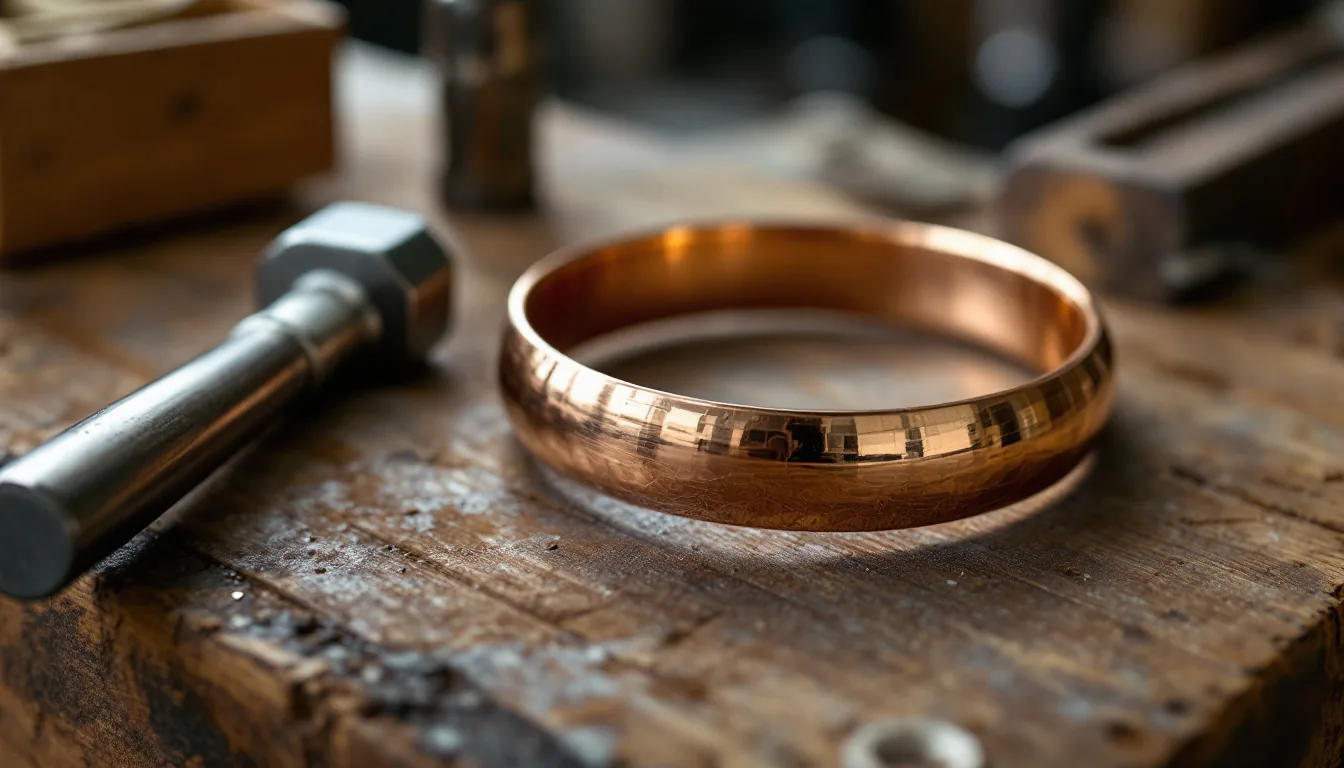
Anticlastic raising turns flat sheet into saddle-shaped forms whose two curves run in opposite directions. The metal is hammered over an S-shaped sinusoidal stake so that its edges stretch while its center compresses. The technique needs few tools, makes strong, light forms from thin sheet, and was developed into a teachable system in the 1970s and 1980s by Heikki Seppä and Michael Good.
Two kinds of curvature
Any curved sheet has two curves at right angles to each other. What matters is whether they bend the same way or opposite ways.
| Synclastic | Anticlastic | |
|---|---|---|
| Curves | Both bend the same way | Bend in opposite directions |
| Familiar shape | Dome, bowl, spoon | Saddle, curled leaf, horn |
| What happens to the metal | Center stretched, edges compressed | Center compressed, edges stretched |
| Typical process | Dapping, sinking, raising a vessel | Hammering over a sinusoidal stake |
Michael Good’s illustrated instruction sheet names the two curves of an anticlastic form. The axial curve runs along the length of the piece, following the stake. The generator curve runs across it, around the curled edges. The size and shape of the stake set the limits of both.
Anticlastic forms are stiff for their weight, because the opposing curves brace each other. That is why thin sheet, worked this way, can make bracelets, neckpieces and sculptural forms that would buckle if they were flat.
Tools
Stakes
The sinusoidal stake is a curved bar shaped like a stretched-out S, with crests and hollows of different sizes along its length. Christine Patrich’s Ganoksin article credits Seppä with developing it in the 1970s and notes that stakes are made of iron, wood (often beech) or nylon. Good’s sheet compares the materials:
- Steel forms the metal quickly but is harder to control, so the piece usually needs more planishing at the end.
- Wood forms more slowly and with more control, and sometimes leaves a surface that needs no planishing.
- Hard plastic falls between the two.
Good’s sheet also gives rules for choosing a stake. Its cross-section at any point limits the tightest axial curve, and each sinusoidal arc limits the tightest generator curve. For small pieces, the width of the blank should not exceed the distance between two crests of the stake.
Hammers
The basic striking tool is a cross-peen hammer or mallet. Pair hard with soft: a wood or plastic mallet on a steel stake, a steel hammer on a wood or plastic stake. Good recommends a peen whose arc is slightly tighter than the stake curve it will be used against.
Everything else
A sturdy bench vise to hold the stake, shears or a saw, files, and an annealing setup (torch, soldering surface, quench water and pickle).
Metal
Ductile metals work best. Shannon Brown’s Ganoksin article names bronze, silver and 18k gold, and reports that Good himself works in 18k gold of 22 to 27 gauge. Copper is a cheap way to practice. Whatever the metal, start with it fully annealed.
Step by step
The sequence below follows the method in Good’s instruction sheet, written in summary.
- Prepare the blank. Cut a strip or leaf shape, file the edges smooth and anneal it.
- Set up the stake. Clamp the sinusoidal stake firmly in the vise.
- Bend the blank over the stake. Curve the annealed strip around the stake so each end is supported at the ends of the curve. Hold it firmly so it does not spring back flat when struck.
- Strike the first edge. Aim each blow just below the line where the metal leaves the stake, square to the stake. Each blow curls a little of the edge up at right angles to the axial curve. A blow struck at an angle twists the metal left or right, which is useful later but unwanted at this stage.
- Work along the edge. Rotate the piece slightly between blows so each one overlaps the last, raising an even furrow. On a tapered piece, give the wider sections more blows to keep the curve uniform.
- Turn and repeat. Turn the piece 180 degrees and furrow the opposite edge to finish the first pass.
- Work toward the center. Reposition so the stake contacts the base of the first furrows, and hammer another pass on each side. Continue in overlapping passes toward the center line until the first course is complete. Work slowly: Good warns that rushing produces a lump along the axis and can fold the metal.
- Anneal. The hammered piece is now work-hardened. Anneal it, quench, pickle and dry it.
- Tighten and continue. For the second course, bend the form tighter along its axis; the generator curve opens and the edges again rest on the stake. Move to a tighter part of the stake when the first curve has reached its limit.
- Develop the form. Repeat courses until both curves are where you want them. A finished anticlast can then be bent or twisted to direct it in new directions, and the concave side stays on the outside of any bend.
Signs that it is time to anneal
The metal springs back more, resists the hammer, or rings harder under the blows. Fine cracks at the edges mean annealing is overdue. Frequent annealing is part of the method, not a sign that something has gone wrong.
How the technique developed
Shannon Brown’s article, written in association with MJSA and reproduced on Ganoksin, reports Good’s view that Bronze Age Irish ribbon torcs were formed this way, with a piece of antler doing the job of a stake. Patrich’s article also points to Late Bronze Age and Early Iron Age torcs from Ireland and Scotland.
The modern method traces to Heikki Seppä (1927–2010). Washington University in St. Louis, where he led the metalsmithing program from 1965 to 1992, describes him as born in Säkkijärvi, Finland, trained in Helsinki and at Georg Jensen in Copenhagen (1948–49), and a founding member of the Society of North American Goldsmiths. The university credits him with developing new methods for shaping sheet metal into three-dimensional shell structures. His book Form Emphasis for Metalsmiths (Kent State University Press, 1978) set out a vocabulary for the shapes sheet metal can take.
Michael Good, a goldsmith based in Rockport, Maine, took a workshop with Seppä in 1977, according to a 2023 profile by Renée Newman in Jewellery Business. Brown’s article recounts that Good suggested applying the topological term “anticlastic” to the process in the early 1980s, during conversations with Seppä. Good went on to build his jewelry around anticlastic forms and, Newman reports, has taught the method at schools and universities internationally. Brown quotes his estimate that it takes about two years of practice to become competent and fast enough to make a piece profitably.
Seppä’s students Betty Helen Longhi and Cynthia Eid later wrote Creative Metal Forming (Brynmorgen Press), which works through synclastic and anticlastic forming in a series of exercises and includes contributions from Good.
Further study
- Heikki Seppä, Form Emphasis for Metalsmiths (Kent State University Press, 1978). The foundational text; aimed at experienced students.
- Betty Helen Longhi and Cynthia Eid, Creative Metal Forming (Brynmorgen Press). Exercise-based, from simple doming through anticlastic forms and spiculums.
- Michael Good, Anticlastic Forming, an illustrated instruction sheet distributed by Otto Frei.
- Ganoksin’s articles by Shannon L. Brown and Christine Patrich, listed in the sources below.
Safety note
Annealing uses a torch: work on a fire-safe surface, keep the area ventilated, and let pieces cool or quench them before handling. Add acid to water, never the reverse, when mixing pickle, and use copper or plastic tongs. Clamp the stake securely, because a stake that shifts under a blow can trap fingers. Steel hammering on steel is loud over long sessions, so hearing protection is sensible, and sheared edges are sharp until filed.
Further reading
- Michael Good: Anticlastic Forming (illustrated instruction sheet, via Otto Frei)
- Ganoksin: The Art of Anticlastic Raising, by Shannon L. Brown
- Ganoksin: Anticlastic Forming Techniques, by Christine Patrich
- Washington University in St. Louis: Obituary, Heikki Seppä, 83
- Kent State University Press: Form Emphasis for Metalsmiths
- Brynmorgen Press: Creative Metal Forming, by Betty Helen Longhi and Cynthia Eid