Bezel-Setting a Round Brilliant
How to bezel-set a round faceted stone: choosing a tube, fabricated or cast bezel, cutting the seat, pushing and burnishing, hammer setting and finishing.
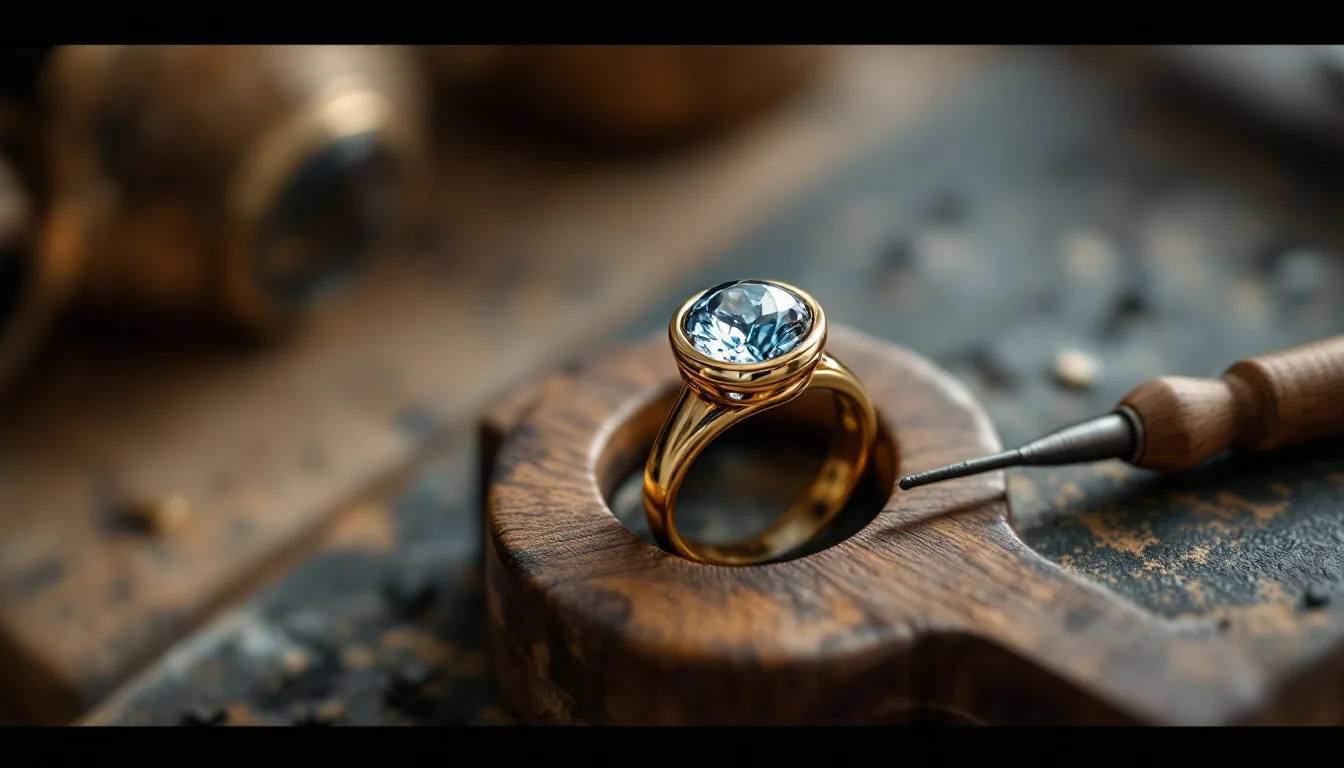
A round brilliant is bezel-set by cutting a level seat inside a metal collar so the girdle rests just below the rim, thinning the top of that rim, and then moving the metal over the crown in small, balanced steps until it touches the stone all the way around. Most failures, including chipped girdles, tilted tables and visible gaps, start with a poorly cut seat rather than with the pushing.
Why bezel-set a faceted stone
A bezel wraps the girdle in a continuous band of metal. In her 1987 Gems & Gemology review of gemstone durability, GIA’s Deborah Dupont Martin described the bezel as an excellent way to protect the girdle and pavilion, and recommended girdle-covering styles for stones that chip, abrade or cleave easily. A bezel also has no prongs to snag, which suits rings worn every day.
The trade-offs are that the stone shows slightly smaller, less light enters through the sides, and the setting must fit the stone closely. A bezel forgives very little: if the seat is off by a fraction of a millimeter, the error shows as an uneven rim or a crooked table.
Choosing the bezel
| Type | How it is made | Suits | Watch for |
|---|---|---|---|
| Tube | Cut from heavy-wall tubing or bought as a ready-made tube setting; the seat is cut with a bur | Small to medium rounds, modern designs | Thick walls need more force. Martin’s 1987 article recommended tube setting only for diamond and corundum |
| Fabricated | Bezel strip or wire bent to a ring or tapered cone and soldered; the seat is either cut into a thick wall or provided by a soldered inner bearing wire | Any size; custom work | Solder seams must be sound before the seat is cut |
| Cast | Modeled in wax with the piece and cast; the seat is refined with burs afterward | Production and CAD work | Martin noted cast bezels are less pliable, harder to work and put the stone at greater risk |
For tube settings, Leslee Frumin’s Art Jewelry tutorial (reprinted on Ganoksin) calls for an outside diameter at least 0.5 mm larger than the stone. A GIA bench tip shows the thick-wall fabricated approach: a 4.5 mm stone goes into a bezel bent from 4 × 1 mm sterling wire with a 3.5 mm inside diameter, so the seat is cut into the wall itself. The length of wire is the stone diameter multiplied by pi, which comes to 14.13 mm for that stone.
Cutting the seat
The seat (also called the bearing) is the ledge that carries the girdle and the angled cut beneath it that clears the pavilion.
- Inspect the stone. Look at the girdle under 10x magnification for chips, feathers and thin spots. Martin points out that fractures or inclusions near the girdle edge make a stone more fragile during setting.
- Measure the girdle with a millimeter gauge and choose a setting bur or hart bur fractionally smaller than the stone, as Frumin advises. A bur that matches the stone exactly can leave a seat that is too loose.
- Lubricate and cut straight down. Hold the handpiece vertical so the seat stays level. Gerald Lewy’s BENCH magazine method cuts the bearing in four or five small passes rather than one.
- Test after every pass. The stone should drop in with light pressure and sit level without rocking. Check from the side that the table is parallel to the rim.
- Clear the pavilion. The culet must not touch the bottom or protrude below the tube. Open the space under the seat with a ball bur if necessary; GIA’s bench tip uses 3.5 mm and 2.5 mm ball burs to make clearance in its holding tool.
How deep to go
Depth balances security against how much of the crown stays visible. Frumin’s two failure modes are a seat cut too shallow, which leaves too little metal to hold the stone, and one cut too deep, which buries the crown facets. GIA’s bench tip gives measurable targets:
- the top of the bezel flange stands at no less than 50 percent of the crown height above the girdle
- the finished metal contact covers no less than 10 percent of the crown distance, measured along the crown surface from girdle to table
Thinning the rim
Thick metal is hard to move and tends to push the stone sideways before it folds. Both the GIA and Lewy methods reduce the top of the rim before setting. Bevel the outside of the top edge with a file while the bezel spins on a mandrel or in the handpiece, so the wall tapers toward the top. The thin edge then folds at the rim instead of bending the whole wall. A little wax in the bearing, as in the GIA method, holds the stone in place while the first contacts are made.
Pushing and burnishing
- Secure the work. Use a ring clamp, a setting tube holder or a shellac stick so both hands can control the tool.
- Make the first four contacts at opposite points. Contributors to Ganoksin’s Orchid forum describe the clock pattern: 12 o’clock, then 6, then 3, then 9. Opposing pushes keep the stone centered and level.
- Halve the gaps. Push midway between the existing contacts, always working opposite pairs, until the rim is closed all round.
- Push from low on the wall. A steel pusher with a serrated face resists slipping. Direct the force inward and slightly down onto the crown, never straight down onto the table.
- Check for gaps. Lewy checks the crown facets for any space between metal and stone and pushes again where needed. Small pleats or ripples often mean the metal was moved too far, too fast, in one spot.
- Burnish. A polished burnisher, used in short overlapping strokes, rubs the metal tight and smooths the surface. In the GIA method the bezel spins in the handpiece while the burnisher rolls the bevel over for 360-degree contact.
Hammer setting
Tube and heavy bezels are often closed with a hammer: a chasing hammer and setting punch, or a reciprocating hammer handpiece on a flex shaft. Gerry Lewy, writing on the Orchid forum, describes two stages. Light blows first move the wall close to the stone, then firmer blows at about 45 degrees lay the metal onto the crown. He warns never to strike down toward the stone. Work the same opposing sequence as with a pusher, and expect to file and burnish away the hammer marks afterward.
Avoiding chips at the girdle
- Set only stones that suit the style. Martin lists topaz and kunzite among stones with cleavage risk, and reports manufacturers’ observations that some heat treatments can leave stones more brittle.
- Make the seat carry the girdle evenly. A seat that is too small forces the girdle to take the load at a few high points.
- Keep the pusher or punch on the metal. A tool that slips off the rim lands on the crown with full force behind it.
- Finish all soldering before the stone goes in. GIA notes that a set bezel can be soldered into a piece only with heat-safe stones; for heat-sensitive stones it is laser welded instead. Martin names emerald, tsavorite and tanzanite as heat-sensitive.
Finishing
- File the top and outside of the rim to an even height and profile.
- Clean up tool marks with a pumice or rubber wheel, keeping it off the stone.
- Re-burnish lightly to restore crisp edges.
- Bright-cut the inner edge with a polished flat or onglette graver. Lewy cuts a bevel inside the rim for a clean, reflective line. Any gap between metal and stone becomes obvious once the edge is bright-cut, so it doubles as a final inspection.
- Polish, then check under magnification: the stone should not move, the table should be level, and the rim should touch the crown all the way round.
Frumin warns against tumble-polishing finished pieces, which can damage the facets.
Safety note
Wear eye protection when using burs, gravers under pressure and hammer handpieces; small chips of metal and stone travel fast. When soldering bezels, work on a fire-safe surface with good ventilation, keep the stone well away from the flame, and handle pickle with tweezers rather than fingers.
Common questions
Can any faceted stone be bezel-set?
Most can, but the risk varies with the stone. Tough, hard stones tolerate the force of tube setting and hammering. Softer stones and those with cleavage or thin girdles call for a thinner bezel, burnishing rather than hammering, and extra care.
Should the table be flush with the rim?
It depends on the style. Lewy’s tube method sets the table flush with the top of the bezel. GIA’s guideline for a standard bezel keeps the rim at no less than half the crown height. Either way, the rim must cover enough of the crown to hold the stone securely.
Further reading
- GIA: Bench Tip #7, A Modified Tool to Bezel-Set Round Faceted Stones
- GIA: Bench Tip #6, Use a Split Mandrel for Finishing Round Bezels
- Gems & Gemology (Summer 1987): Gemstone Durability: Design to Display, by Deborah Dupont Martin
- Ganoksin: Tube Setting Faceted Stones, by Gerald N. Lewy
- Ganoksin: Tube Setting Basics, by Leslee Frumin