Lost-Wax Casting for Jewelry: A Primer
How jewelry is lost-wax cast: models and molds, spruing, investing, burnout, vacuum vs centrifugal casting, quenching, cleanup, common defects and safety.
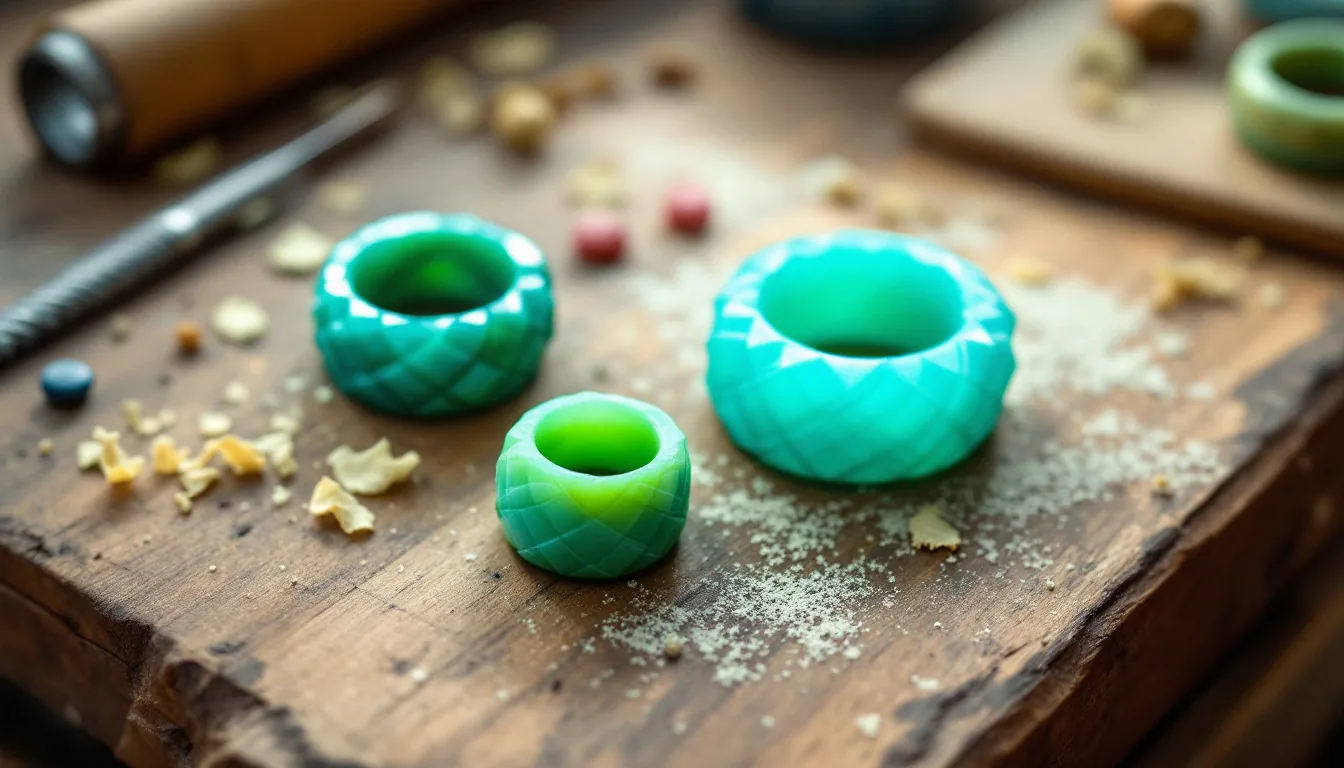
Lost-wax casting turns a wax or printed-resin model into metal. The model is encased in a heat-resistant investment, the flask is fired until the wax is gone, and molten metal is driven into the empty cavity by centrifugal force or vacuum assist. The same sequence serves a one-off custom ring and a production run, because a single rubber mold can supply many identical waxes.
The process at a glance
| Stage | What happens | What has to be controlled |
|---|---|---|
| 1. Model | Wax is carved, built up, injected or 3D printed | Dimensions, surface finish |
| 2. Spruing | Wax channels join the model to a tree on a rubber base | Sprue size, placement, junctions |
| 3. Investing | Investment slurry is mixed, de-aired and poured around the tree | Water-to-powder ratio, timing |
| 4. Burnout | A kiln melts out the wax and cures the mold | Ramp rate, peak temperature, hold times |
| 5. Casting | Metal is melted and forced into the hot flask | Metal temperature, flask temperature |
| 6. Quench and cleanup | The flask is cooled, investment removed, castings pickled | Quench timing, metal reuse |
Models and molds
A one-off piece usually starts as a model carved from hard carving wax, built up from sheet and wire waxes, or printed from a CAD file in a castable resin or wax. For multiples, a finished master (usually metal) is molded in rubber, and wax is injected into the mold as often as needed.
The mold compound determines how many waxes a mold will give and how much it shrinks. Figures from a comparison by Suzanne Wade, first published in AJM in 1998:
| Mold compound | Cure | Shrinkage | Typical life |
|---|---|---|---|
| Natural rubber | Vulcanized at about 310°F (154°C) | 0–4% | Thousands of waxes |
| Vulcanizing silicone | 330–350°F (165–177°C) | 2.6–3.6% | Hundreds of waxes |
| RTV (room-temperature vulcanizing) | Room temperature, no press | About 0% | Putty types as few as 10–30 waxes |
RTV compounds are the choice for fragile masters that would be damaged by the pressure of a vulcanizer. Printed resin patterns usually need the burnout schedule specified by the resin’s maker rather than a standard wax cycle.
Spruing
Sprues are the channels that let wax out and metal in, and they keep feeding the casting with liquid metal while it freezes. In a paper for the World Gold Council, Eddie Bell notes that silver and gold alloys lose 5 to 6% of their volume as they solidify. If the feed sprue freezes before the piece does, that lost volume shows up as shrinkage porosity.
Practical rules that follow from this:
- Attach at the thickest section. Bell cites a common rule that the feed sprue’s cross-section should be 70–150% of the attachment point, while warning that the real lesson is not to make sprues any smaller than necessary.
- Use round sprues. Bell reports that round sprues carry metal with less heat loss than flattened ones.
- Fillet every junction. Smooth the joint between sprue and model, and between feed sprues and the main sprue. J. Tyler Teague, writing on Ganoksin, traced investment inclusions to loose fragments that break away at unsealed sprue joints.
- Plan the flow. Ken Moore advises positioning pieces so metal flows downhill from the button, with fine-finish surfaces facing away from the sprue.
- Weigh the tree. Multiply the wax weight by the conversion factor for the alloy (suppliers publish these), then add metal for the button. Stuller recommends that the button and tree weigh at least as much as the pieces.
Investing
Gold and silver are cast in gypsum-bonded investment: a calcium sulfate binder with quartz and cristobalite as refractories. Richard Austin, writing on Ganoksin, notes that the calcium sulfate begins to break down at about 1350°F (730°C), so burnout tops out around that temperature. Platinum alloys, which melt between about 3,138°F and 3,250°F, are cast in phosphate-bonded investment instead, according to a Platinum Guild International overview.
A typical gypsum-investment sequence:
- Weigh water and powder. Charles Lewton-Brain uses 40 cc of water to 100 g of powder; Ralph Carter of Ransom & Randolph found that ratios outside the recommended range caused defects such as sandy surfaces.
- Use distilled or de-ionized water at room temperature. Water temperature and impurities change working and setting times.
- Mix for about three minutes, then vacuum the bowl until the slurry rises, boils and settles, typically one to two minutes.
- Pour slowly down the side of the flask, then vacuum the filled flask.
- Finish pouring before the mix loses its gloss. Lewton-Brain completes the whole procedure in about nine minutes from first mixing.
- Let the flask set undisturbed. Stuller suggests at least an hour for small flasks and two hours for larger ones before burnout.
Burnout
The schedule below combines Stuller’s guidance with Shannon Calloway’s Bench article on burnout cycles. Treat it as typical for wax in gypsum investment, and follow the data sheet for your investment.
| Stage | Temperature | Hold | Purpose |
|---|---|---|---|
| Dewax | 250–300°F | At least 30 minutes; 1.5–3 hours by flask size | Steam drives wax out without boiling it in the cavity |
| Ramp | About 4°F per minute, often with a hold at 700°F | Manual kilns: steps at 700, 900 and 1200°F | Gradual heating avoids cracking the mold |
| Burnout and cure | 1350°F | 3–5 hours by flask size and airflow | Removes carbon; investment turns chalky white |
| Casting temperature | Set by alloy and piece | At least 1 hour | Lets the flask core match the kiln |
Calloway warns never to let gypsum investment reach 1500°F, where the binder breaks down and discolors the metal. Dark gray investment at the sprue opening means the burnout is incomplete.
Casting: vacuum assist or centrifugal
| Vacuum assist | Centrifugal | |
|---|---|---|
| How metal enters | Poured into the flask while a pump draws air out through the porous investment | Flung from the crucible into the flask by a spinning arm |
| Fill | Gentler, with less turbulence | Fast and forceful |
| Superheat for karat gold (Stuller) | 100–200°F over melting temperature | 50–125°F over melting temperature |
| Typical use | Gold and silver, from single flasks to production | Small shops; standard for platinum |
For karat gold, Stuller suggests flask temperatures of 1100–1300°F for small, detailed pieces and 800–1000°F for heavy, simple ones such as men’s rings. White golds sit at the upper end, and centrifugal casting usually at the lower end. Larger operations also use induction melting under protective gas and machines that combine tilt pouring, vacuum and pressure.
Quenching, devesting and cleanup
How long to wait before quenching depends on the alloy. Stuller’s guidance for karat gold is to quench once the red glow has left the button. Rio Grande’s Eddie Bell writes that the company quenches traditional sterling flasks after about three minutes and Argentium sterling after 15. Quenching too hot risks cracking; waiting too long makes the investment harder to remove.
After quenching, wash out the remaining investment, pickle the tree to remove oxides, and cut the castings free. Before remelting sprues and buttons, clean all investment and oxide from them; Rio Grande tumbles its sprues for this. Both Rio Grande and Stuller advise using at least 50% fresh metal in each melt.
Common defects
| Defect | Usual causes | First things to check |
|---|---|---|
| Shrinkage porosity | Undersized or badly placed sprues | Feed sprue size and attachment point |
| Gas porosity | Incomplete burnout, overheated flask, dirty metal | Burnout schedule, peak temperature, scrap ratio |
| Incomplete fill | Cold metal or flask, thin sections, poor gating | Superheat, flask temperature, sprue path |
| Investment inclusions | Loose investment at sprue joints | Sealed, filleted junctions |
| Sandy or rough surface | Water-to-powder ratio out of range | Weighing and measuring |
Porosity is the defect that costs the most time later. For diagnosis and repair, see Casting Porosity: Causes, Prevention and Repair.
Safety
- Silica dust. Lewton-Brain notes that casting investments can contain up to 60% cristobalite, a form of silica that causes silicosis. Wear a properly fitted respirator rated for fine dust when weighing, mixing and devesting. Wet-clean benches and floors rather than sweeping. Quenching a hot flask breaks the investment into very fine dust, so ventilate the quench area too.
- Burnout fumes. Vent the kiln with local exhaust close to the source; opening a window is not enough.
- Molten metal. Wear eye protection with the correct shade for infrared, heat-resistant gloves, a leather apron and closed leather shoes. Keep water and damp tools away from the melt.
- Machines. Balance a centrifugal arm before every cast, keep it enclosed, and stay out of its plane of rotation.
- Metal fumes. Know what is in your scrap. Zinc and copper fumes can cause metal fume fever, and cadmium fumes are more dangerous still, so keep cadmium-bearing scrap out of the melt.
Further reading
- Stuller Bench Jeweler: Investing & Burnout
- Stuller Bench Jeweler: General Casting Tips for Karat Golds
- Ganoksin: Wax Casting Burnout Cycles (Shannon Calloway, Bench Magazine)
- Ganoksin: The Sprue System Design (Eddie Bell, World Gold Council)
- Ganoksin: Natural Rubber or Silicone Rubber? (Suzanne Wade)
- Ganoksin: Important Principles of Casting Safety (Charles Lewton-Brain)