Fold-Forming: Charles Lewton-Brain's Metal-Forming Method
What fold-forming is, how Charles Lewton-Brain developed it, the basic line folds and T-folds, tools, annealing, safety and where to learn more.
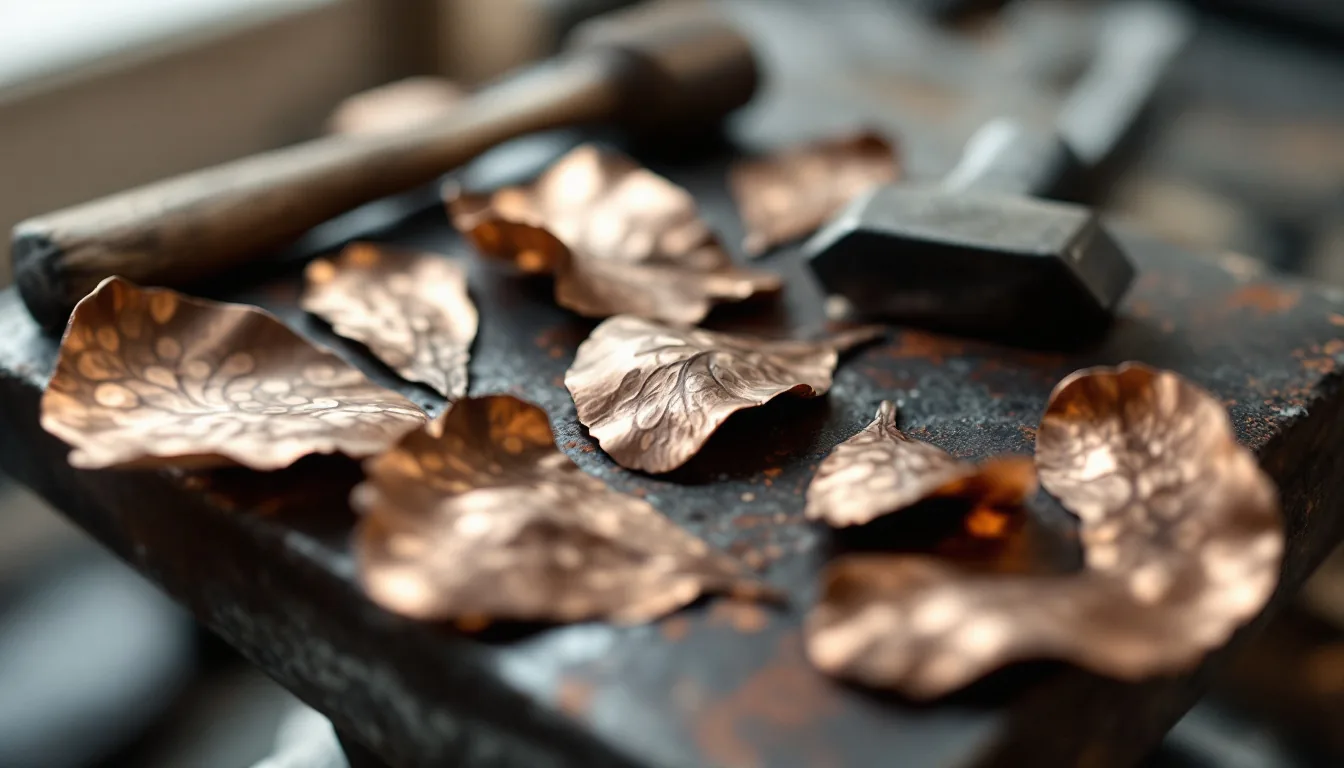
Fold-forming is a family of metal-forming techniques in which sheet is folded, worked along the fold by hammering or rolling, usually annealed, and then opened. The stresses concentrated in the fold make the opened sheet curve, ridge or twist in predictable ways, producing three-dimensional forms and textures quickly, mostly from a single sheet and without solder. The system was developed by the Canadian goldsmith Charles Lewton-Brain, whose own account dates the work from 1980 onward.
How a fold makes a form
When a sheet is folded and then hammered along the folded edge, the metal at the fold is thinned and stretched more than the metal at the open edges, or the reverse, depending on where the blows land. When the packet is opened, the difference has nowhere to go except into curvature. Lewton-Brain’s Ganoksin article on line-folds sets out the basic rules:
- forging the closed side of a fold tends to produce shell or pod forms
- forging the open side tends to produce leafy forms
- the ratio of fold length to leg length controls how strongly the piece curves; shorter legs give more curvature
Annealing changes the result too. Annealing before opening gives a softer, more even form. Leaving the packet work-hardened before opening produces, in Lewton-Brain’s description, a high, stiff line that stands up from the sheet.
A related idea is the hardness dam: a line or spot deliberately work-hardened so that it resists movement and directs softer, annealed metal around it. His leaf-and-ruffle exercise on Ganoksin uses radiating hardened lines so that later forging pushes the metal between them into ruffles.
Who developed it
According to the curriculum vitae on his Brain Press site, Lewton-Brain earned a BFA at the Nova Scotia College of Art and Design in 1978, studied at the Fachhochschule für Gestaltung in Pforzheim, Germany, in 1979–80 with Professor Klaus Ullrich, and worked in industry as a stonesetter and goldsmith in Nova Scotia and Pforzheim between 1977 and 1982. He completed an MFA at the State University of New York at New Paltz in 1986 and that year began teaching at the Alberta College of Art and Design in Calgary, where he served multiple terms as program head.
The same CV lists the invention and development of fold-forming from 1980, recognition of his fold-forming project by the Rolex Awards for Enterprise in 1990, the founding of his publishing company Brain Press in 1994, and his co-founding of the Ganoksin Project with Hanuman Aspler in 1996. In 2012 he received the Saidye Bronfman Award, part of Canada’s Governor General’s Awards. Brain Press also states that the British Museum Research Laboratory and the Rolex Awards confirmed fold-forming had no historical precedent in metalworking.
The basic folds
| Fold | Basic action | Typical result |
|---|---|---|
| Line fold | Fold, tighten the fold edge, open, then hammer the raised line | A crisp raised line, like an applied wire or chased line |
| Forged line fold | Fold, forge along the fold edge, anneal, open | Curved fins, leaves, pods and shells |
| T-fold | Form a loop, clamp it in a vise, mallet it into a T cross-section, forge, open | A raised “table” that opens flat, concave or twisted |
| Cross fold | Fold across an earlier fold | Intersecting lines and grids |
| Rueger fold | A long line fold with short legs, forged | Strongly curved, shell-like forms |
Brain Press also lists rolled, woven, pleated, and scored-and-bent folds, along with variants such as the chased wedge T-fold and the boat fold.
Making a line fold
Lewton-Brain describes the most basic line fold in four steps:
- Fold an annealed sheet over onto itself.
- Mallet the fold to tighten the fold edge.
- Unfold the sheet.
- Hammer the raised line flat against the sheet, a step he calls confirming.
The result is a sharp ridge. Line folds work as pattern lines, as cloisons for enameling, and as a way to change the plane or direction of a sheet.
Making a T-fold
From Lewton-Brain’s Ganoksin step sequence:
- Bend a rectangle of sheet into a loop.
- Clamp the loop in a vise; the amount left above the jaws sets the width of the finished “table.”
- Mallet the projecting loop down over the legs, then remove it, inspect it and replace it.
- Mallet it to a T cross-section.
- Forge across the table to widen it, or along it. Forged with its legs free, the fold twists into a helix; forged with the legs pinned in the vise, it does not twist.
- Open the fold. If it was annealed first, the table opens with a concave curve; if not, it stays flat.
Tools
Brain Press’s tool list starts with safety glasses and ear protection, then:
- Hammers: raising or forging hammers to move metal directionally, a “thumb-like” raising hammer for thinning and centered line folds, a planishing hammer to smooth and to upset fold edges, and a goldsmith’s hammer for small work.
- Mallets: leather and paper mallets; Lewton-Brain notes that a paper mallet marks the metal least.
- Holding and support: a large vise, preferably with smooth jaws (or with copper, plastic or wood jaw covers), plus anvils and stakes, especially a T-stake.
- Cutting and opening: hand shears or aviation snips, and prying tools such as knives or screwdrivers to start opening a fold.
- Optional: sheet and wire rolling mills, which can replace hammering for some folds.
- Annealing equipment.
Metals and thickness
For practice, Brain Press recommends 24 gauge (0.5 mm) copper sheet, or aluminum of the same thickness as a cheaper option. The techniques also work in gold, silver, platinum and steel. Thinner sheet is possible in soft metals: in his line-fold article Lewton-Brain describes folds in fine silver as thin as 28 gauge (0.3 mm).
Annealing and opening
- Anneal the sheet before the first fold, and again whenever the metal resists or the fold edge starts to crack.
- Lewton-Brain’s leaf exercise cools the annealed packet between steel blocks rather than quenching it, to avoid trapping water inside the fold.
- Pickle can also lodge in a fold, so rinse folded work thoroughly.
- Open a fold gently. Start it with a blunt tool along the open edge, then open it the rest of the way by hand so the fold edge does not tear.
Why it is popular for teaching
Fold-forming needs little more than a hammer, a vise, a torch and cheap copper, and a beginner can produce a finished form in a single session. It also makes the behavior of metal visible: students see work-hardening, annealing, stretching and compression in each piece they open. Brain Press states that dozens of schools teach parts of the system and that thousands of people use the procedures in their work. Because most folds use one sheet and no solder, the forms are easy to repeat and adapt into jewelry, hollowware and larger metalwork.
Further reading
- Charles Lewton-Brain, Foldforming (Brynmorgen Press, 2008). Hardcover, 160 pages and more than 450 photographs; the main reference.
- Brain Press, Lewton-Brain’s publishing company, which also issued a fold-forming CD-ROM.
- Lewton-Brain’s step-by-step articles on Ganoksin, including the basic T-fold, wedge T-fold, line-folds and leaf or ruffle.
- Louise Mary Muttitt, Fold Forming for Jewellers and Metalsmiths (Crowood Press, 2017).
Safety note
Follow the tool list’s lead and wear safety glasses and hearing protection; repeated hammering on steel is loud. Anneal on a fire-safe surface with ventilation, and cool or quench work before handling. Steam can spit from a hot fold if water is trapped inside. Freshly sheared edges are sharp, and a vise can pinch fingers when malleting a T-fold. Lewton-Brain’s The Jewelry Workshop Safety Report (1999) covers shop hazards in more depth.