Flush Setting (Gypsy Setting): Step by Step
How to flush set (gypsy set) a round stone: stone choice, metal thickness, bur sizes, seat depth, burnishing vs hammer setting, finishing and common failures.

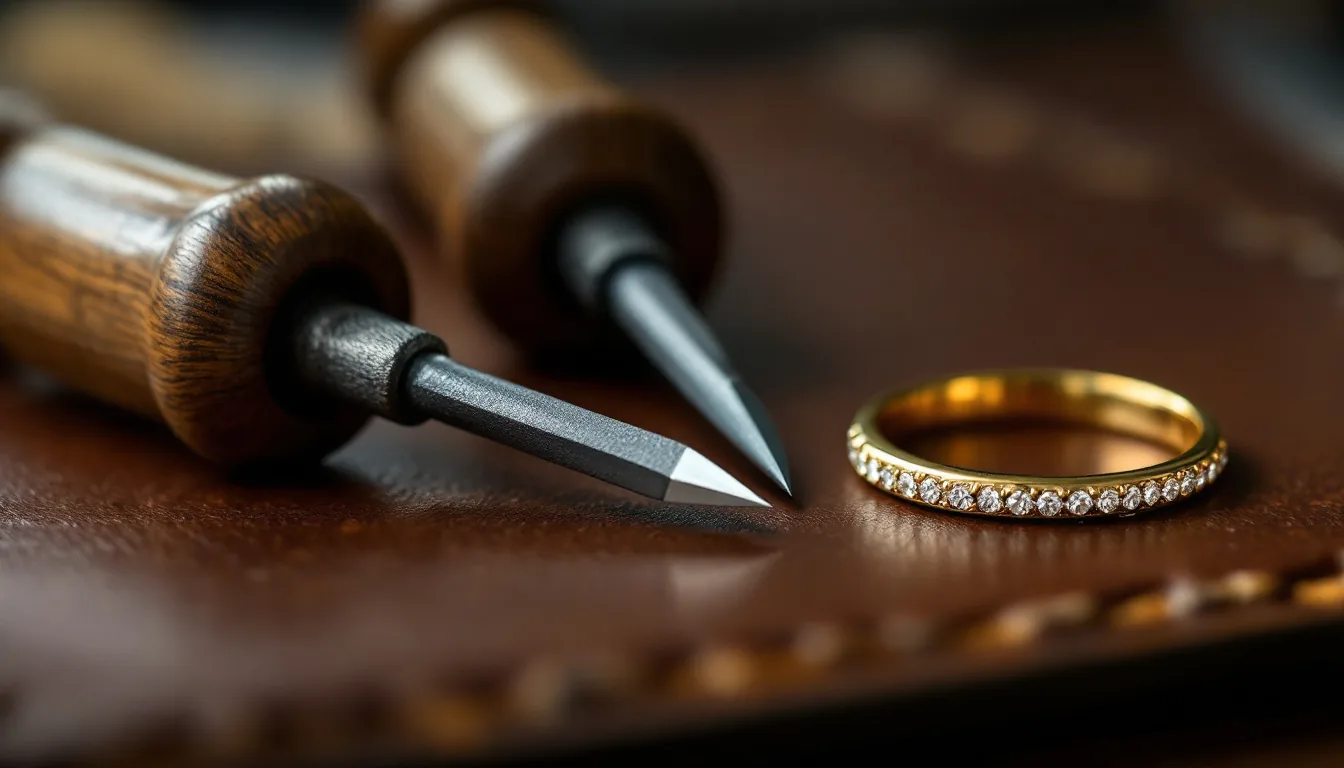
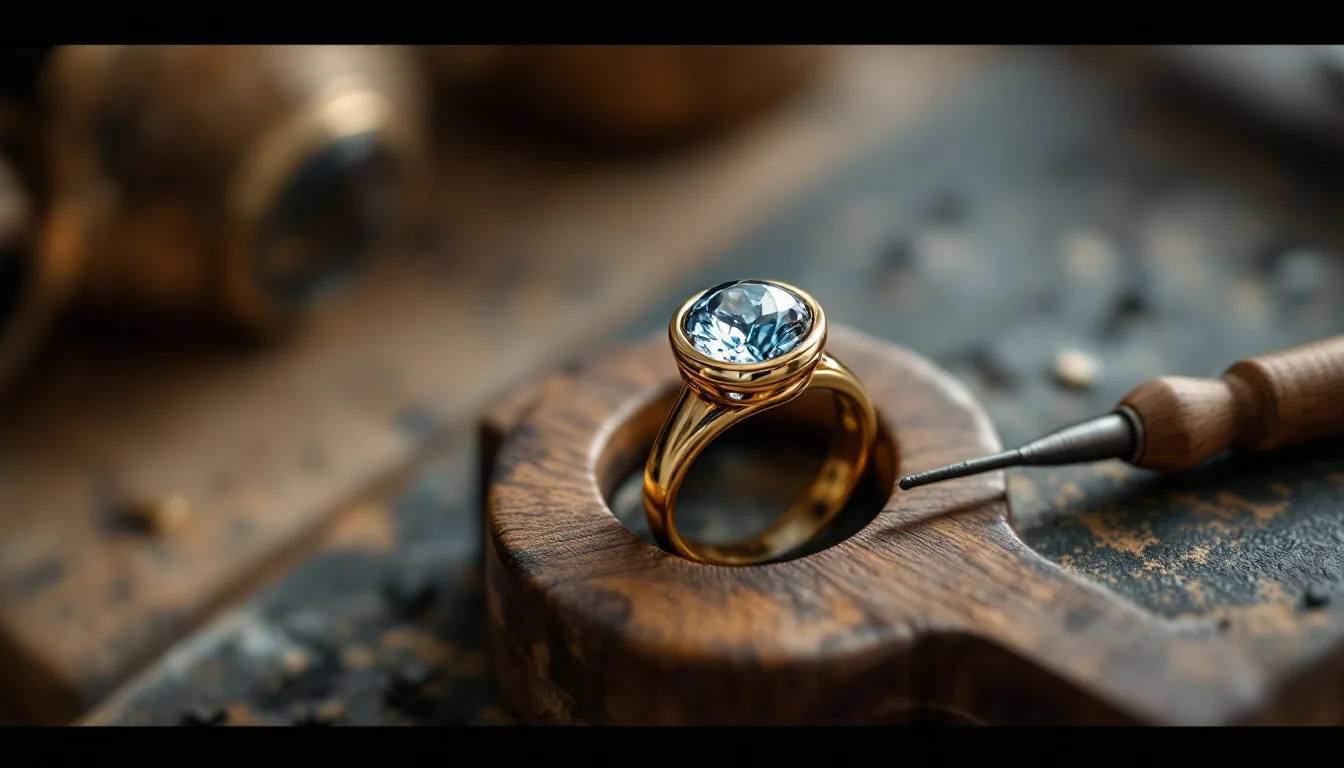
In a flush setting, also called a gypsy or burnish setting, the stone sits in a hole drilled into the metal with its table at or just below the surface. A thin lip of surrounding metal is pushed over the girdle with a burnisher or a small hammer. The method suits hard stones in pieces that take daily wear, and success depends almost entirely on a seat that is cut to the right diameter and depth.
When to use it
Flush setting is a good choice when:
- The piece will be worn hard. Wedding bands, men’s rings and cuff bracelets have no prongs to snag or wear thin.
- A clean, minimal look is wanted. Small stones scattered across a surface appear to float in the metal.
- The metal is thick enough. The stone has to sit entirely within the wall, as explained below.
It is a poor choice for large stones, soft or brittle gems, and designs that rely on light entering the stone from the side. With the pavilion buried in metal, a flush-set stone can look less lively than the same stone in prongs.
Choosing the stone
Setting pressure goes straight into the girdle, so hardness and toughness matter.
| Suitable | Avoid |
|---|---|
| Diamond | Emerald (too brittle) |
| Ruby and sapphire | Quartz varieties (amethyst, citrine) |
| Moissanite | Opal, pearl and other soft materials |
| Cubic zirconia (for practice and fashion pieces) | Stones with thick or uneven girdles |
Alan Revere recommends round brilliants with thin to medium girdles. Nancy Hamilton, an instructor, uses a simple test: a stone for flush setting should not be scratched by hardened tool steel.
Metal thickness and layout
The metal must be thicker than the stone is deep, so the culet stays inside the wall instead of poking through the back. On a ring, that matters for comfort: a protruding culet scratches the finger. Hamilton’s example is a 4 mm stone 2.19 mm deep, which needs 11-gauge metal or heavier. Where a design calls for thinner metal, she suggests soldering on a raised element to build up thickness locally.
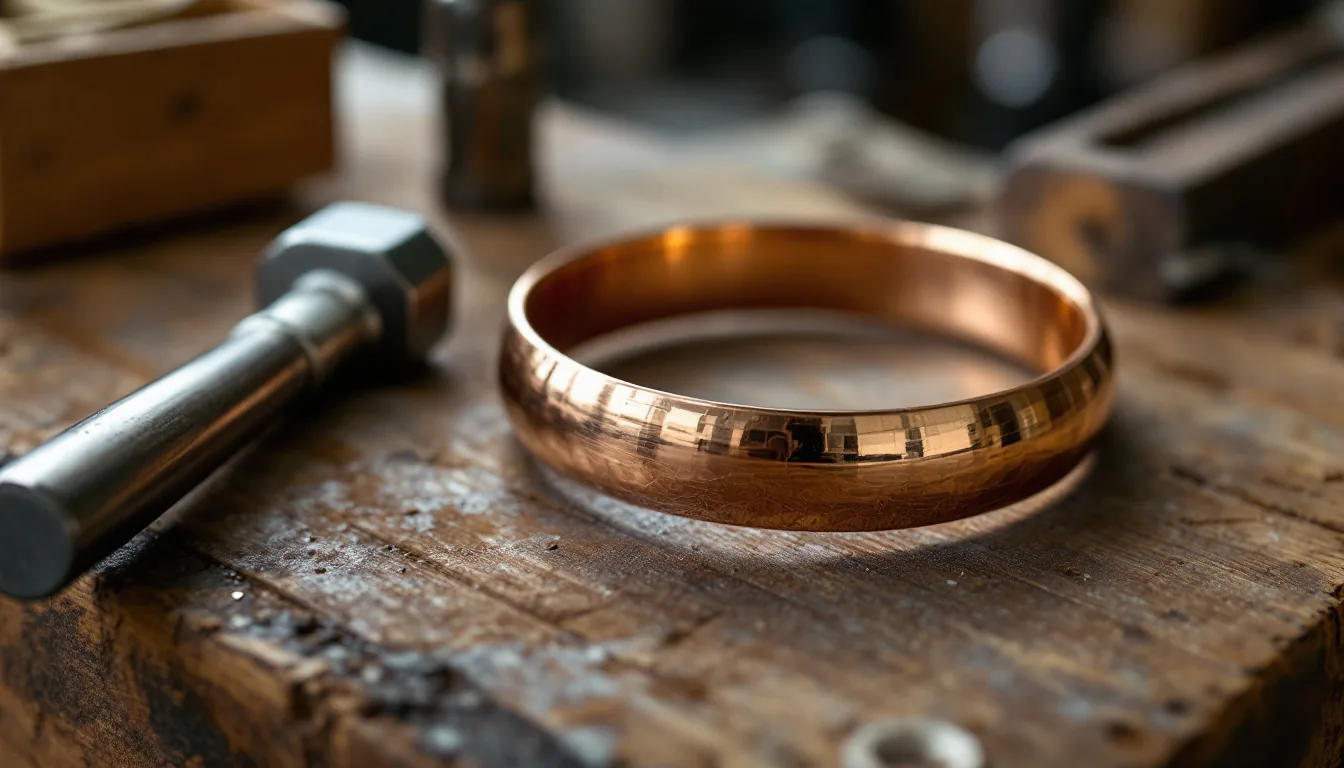
For practice, Revere sets 3 mm stones in 1.5 mm copper sheet. Mark each stone position with dividers and a center punch so the pilot drill cannot wander.
How published methods size the seat
Teachers agree on the principle (a hole slightly smaller than the stone, with a seat cut just below the surface) but vary the tools. These are the sequences they publish:
| Method | Opening the hole | Cutting the seat | Stone height |
|---|---|---|---|
| Charles Lewton-Brain | 1 mm pilot, then open to about ¾ of stone diameter | Ball bur at or just under the stone’s diameter | Girdle about 0.5 mm below the surface |
| Alan Revere (3 mm stone) | 1 mm and 2 mm pilots, then a 3.2 mm bud bur to taper the hole | 2.7 mm hart bur, cutting only a very shallow groove all round | Stone is pressed down through the narrowest point into the groove |
| Gerald Lewy | Twist drill, then a round bur about 85% of stone diameter | Undercutting bur no larger than half the stone’s diameter, worked around the wall in stages | Table flush with the metal |
| Nancy Hamilton | Pilot about 50%, then about 75% of stone diameter | Final bur at 99–100% of stone diameter | Table level with the metal for stones of 2.5 mm and under |
For a well-cut round brilliant, “table flush” and “girdle a fraction of a millimeter down” describe nearly the same position. What matters is that a lip of metal stands above the girdle for the burnisher to move.
Step by step
- Measure the stone. Use a gauge to read the girdle diameter and total depth.
- Mark and drill. Center-punch the position and drill a pilot hole of about 1 mm, square to the surface.
- Open the hole. Enlarge it in stages to roughly three-quarters of the stone’s diameter. Counter-sinking the back of the hole lets polishing compound drain out later.
- Cut the seat. With a ball, hart or setting bur slightly smaller than the stone, cut the seat to depth. Lewton-Brain measures depth from the original metal surface, not from the burr thrown up by cutting.
- Test the fit. The stone should snap in with light pressure from a brass or wooden pusher and sit level. Check with a loupe that the table is parallel to the surface.
- Correct the seat. If the stone rocks or tilts, find the high spot and recut it lightly. Hamilton corrects a crooked seat by working the high side with a smaller bur.
- Set the stone. Burnish or hammer the lip over the girdle (see below).
- Finish. Clean up tool marks and, if wanted, bright-cut a narrow bevel around the stone.
Burnishing versus hammer setting
Burnishing
Lewton-Brain starts with a slightly blunted steel burnisher placed 1.5 to 2 mm from the stone, pushing down and rubbing sideways so the curved face rolls metal toward the girdle. Work north, south, east and west first, as with a bezel, then all the way around, and finish with a pointed burnisher. Hamilton begins with the tool at about 45 degrees, its tip resting on the stone, and moves toward vertical as the lip closes, with firm downward pressure. Revere uses a polished, tapered round burnisher made from an old bur.
Under a loupe, the finished setting should show an even, thin ring of metal over the girdle with no gaps.
Hammer setting
The lip can also be moved with a small punch, by hand or in a hammer handpiece on a flex shaft. Both Lewy and Hamilton prefer burnishing. If you hammer, hold the punch at about 45 degrees and tap lightly on the edge of the lip only. Striking the surrounding metal leaves dents that are hard to remove without thinning the setting.
Finishing
Hamilton removes burnisher marks by sanding across the scratches, then working through 800 and 1000 grit in alternating directions. Lewy files and pumices the surface, then bright-cuts the inside of the rim with a #39 flat graver or a right-sided #2 onglette, using as little emery paper as possible. Either way, the aim is to remove marks without thinning the lip that holds the stone.
Common failures
| Problem | Likely cause | Remedy |
|---|---|---|
| Stone will not enter | Seat or opening too small | Open carefully with the seat bur |
| Stone drops in loose | Opening or seat too large | Little can be done except a larger stone |
| Stone “swims” after setting | Seat cut too deep | Recut is rarely possible; prevent by checking depth often |
| Stone rocks | High spots, or seat undersized | Recut the high side lightly |
| Table tilted | Crooked seat or hole | Correct the seat with a smaller bur |
| Burnisher slips onto the stone | Stone too high, or burnisher too large | Deepen the seat; use a smaller tool |
| Stone sits proud | Not enough metal removed | Lewton-Brain calls this an easy mistake; deepen the seat |
| Dents around the stone | Hammering the surface, not the lip | Strike only the lip at about 45 degrees |
| Chipped girdle | Soft or brittle stone, or too much force | Choose a harder stone; build pressure gradually |
Safety
Wear safety glasses when drilling and burring: burs can break and stones can fly. Fix the work in a ring clamp or setting block so the burnisher cannot skid into your hand.